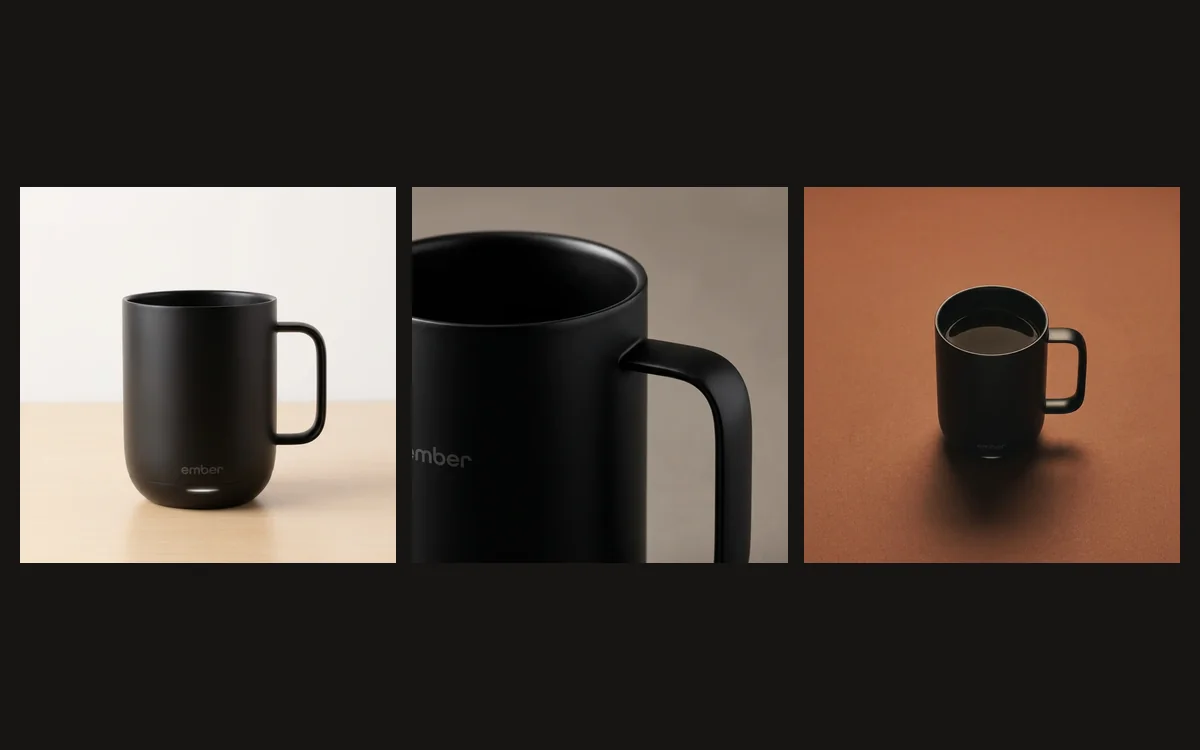
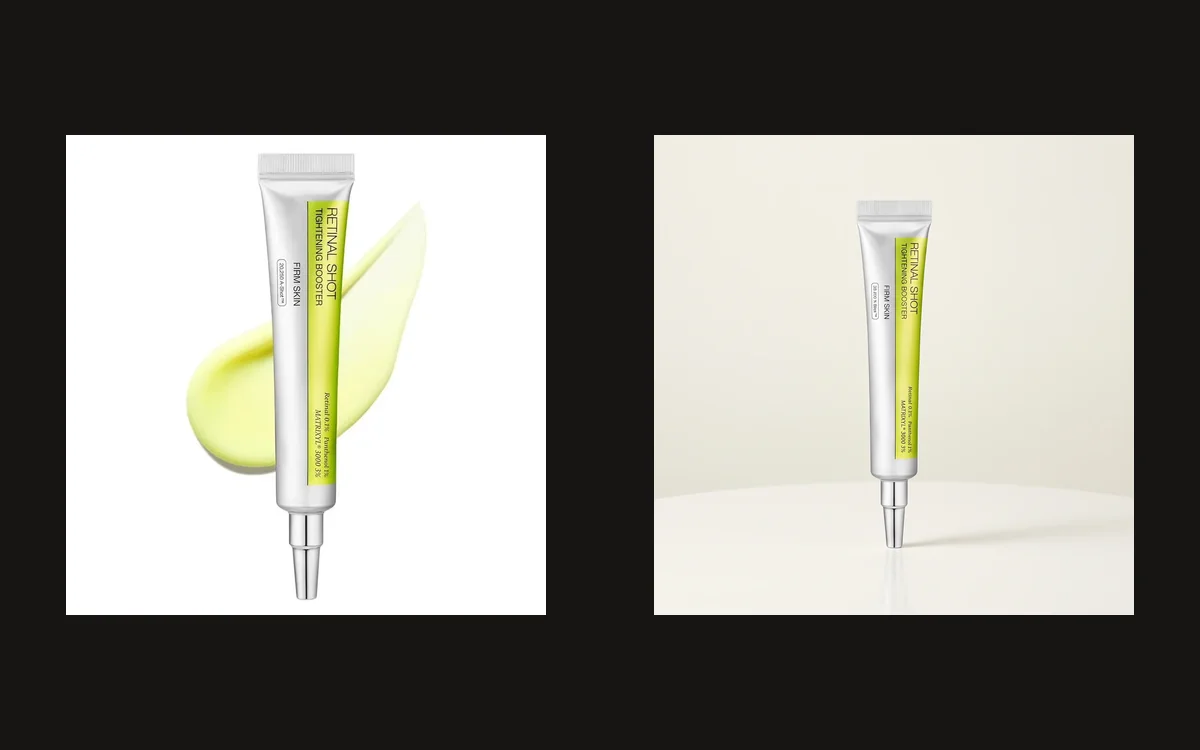
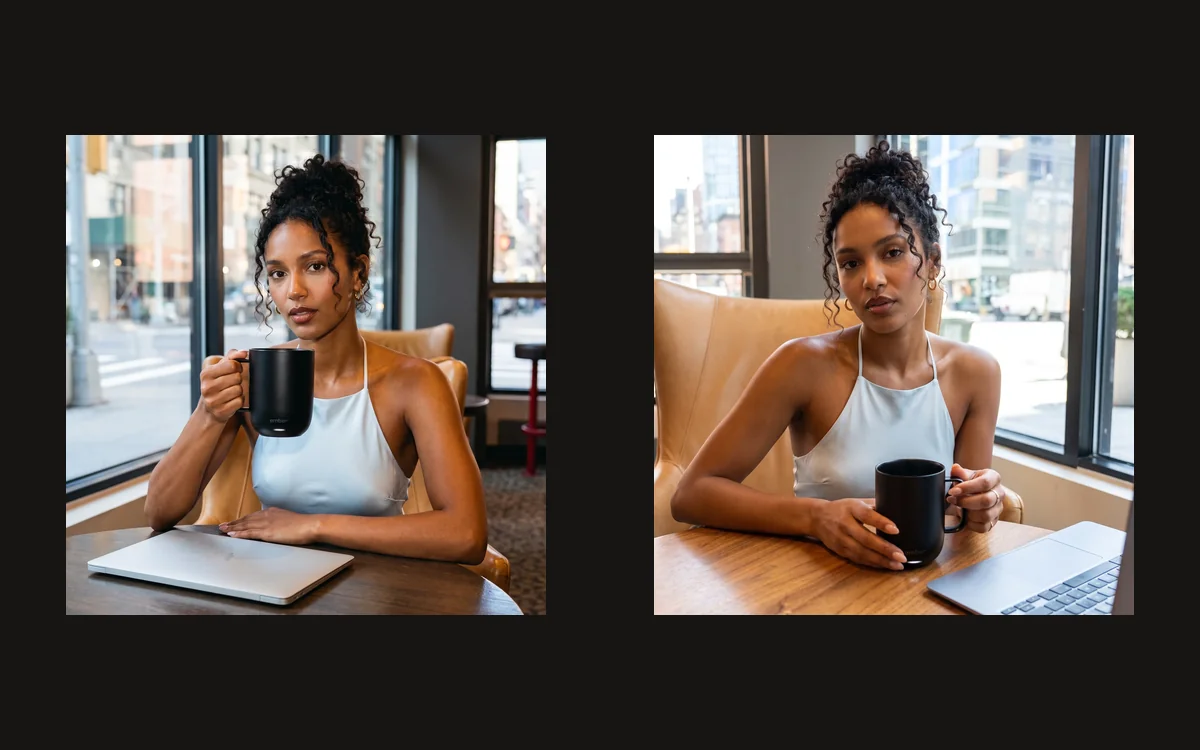
How to Choose a Background for AI Product Photography
Choose a surface, light direction, and setting that suit your product, then check shadows and reflections before using the image.
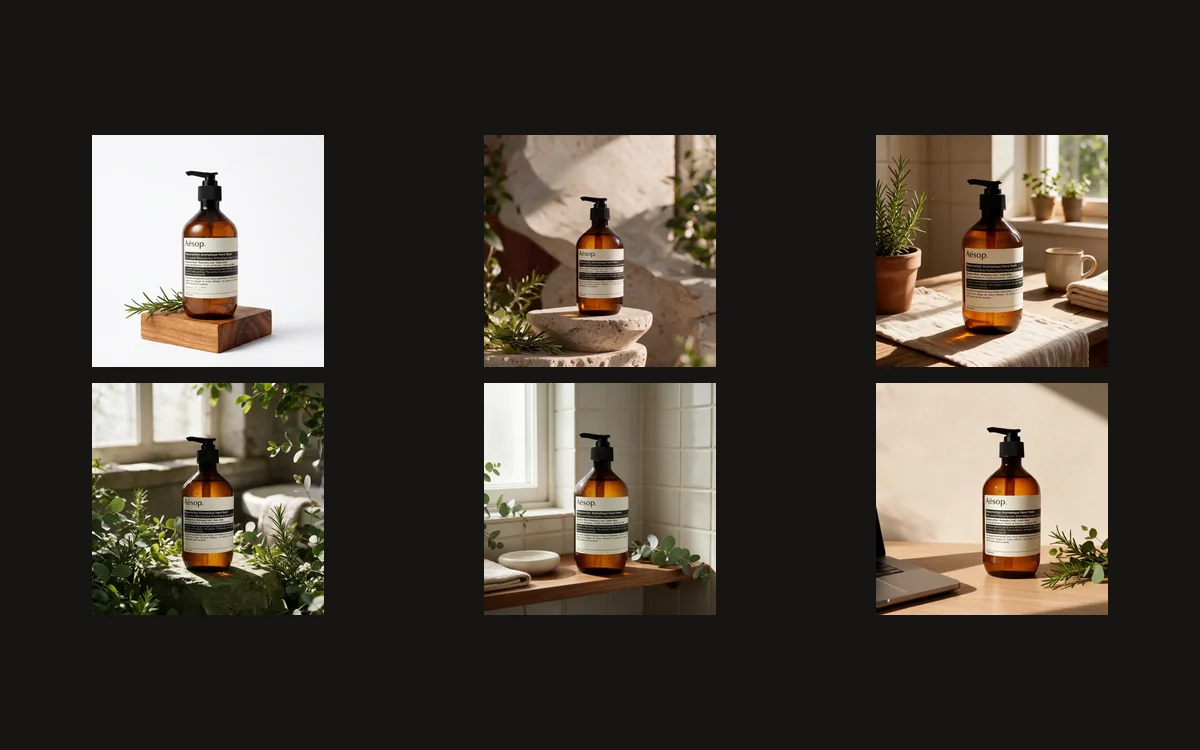
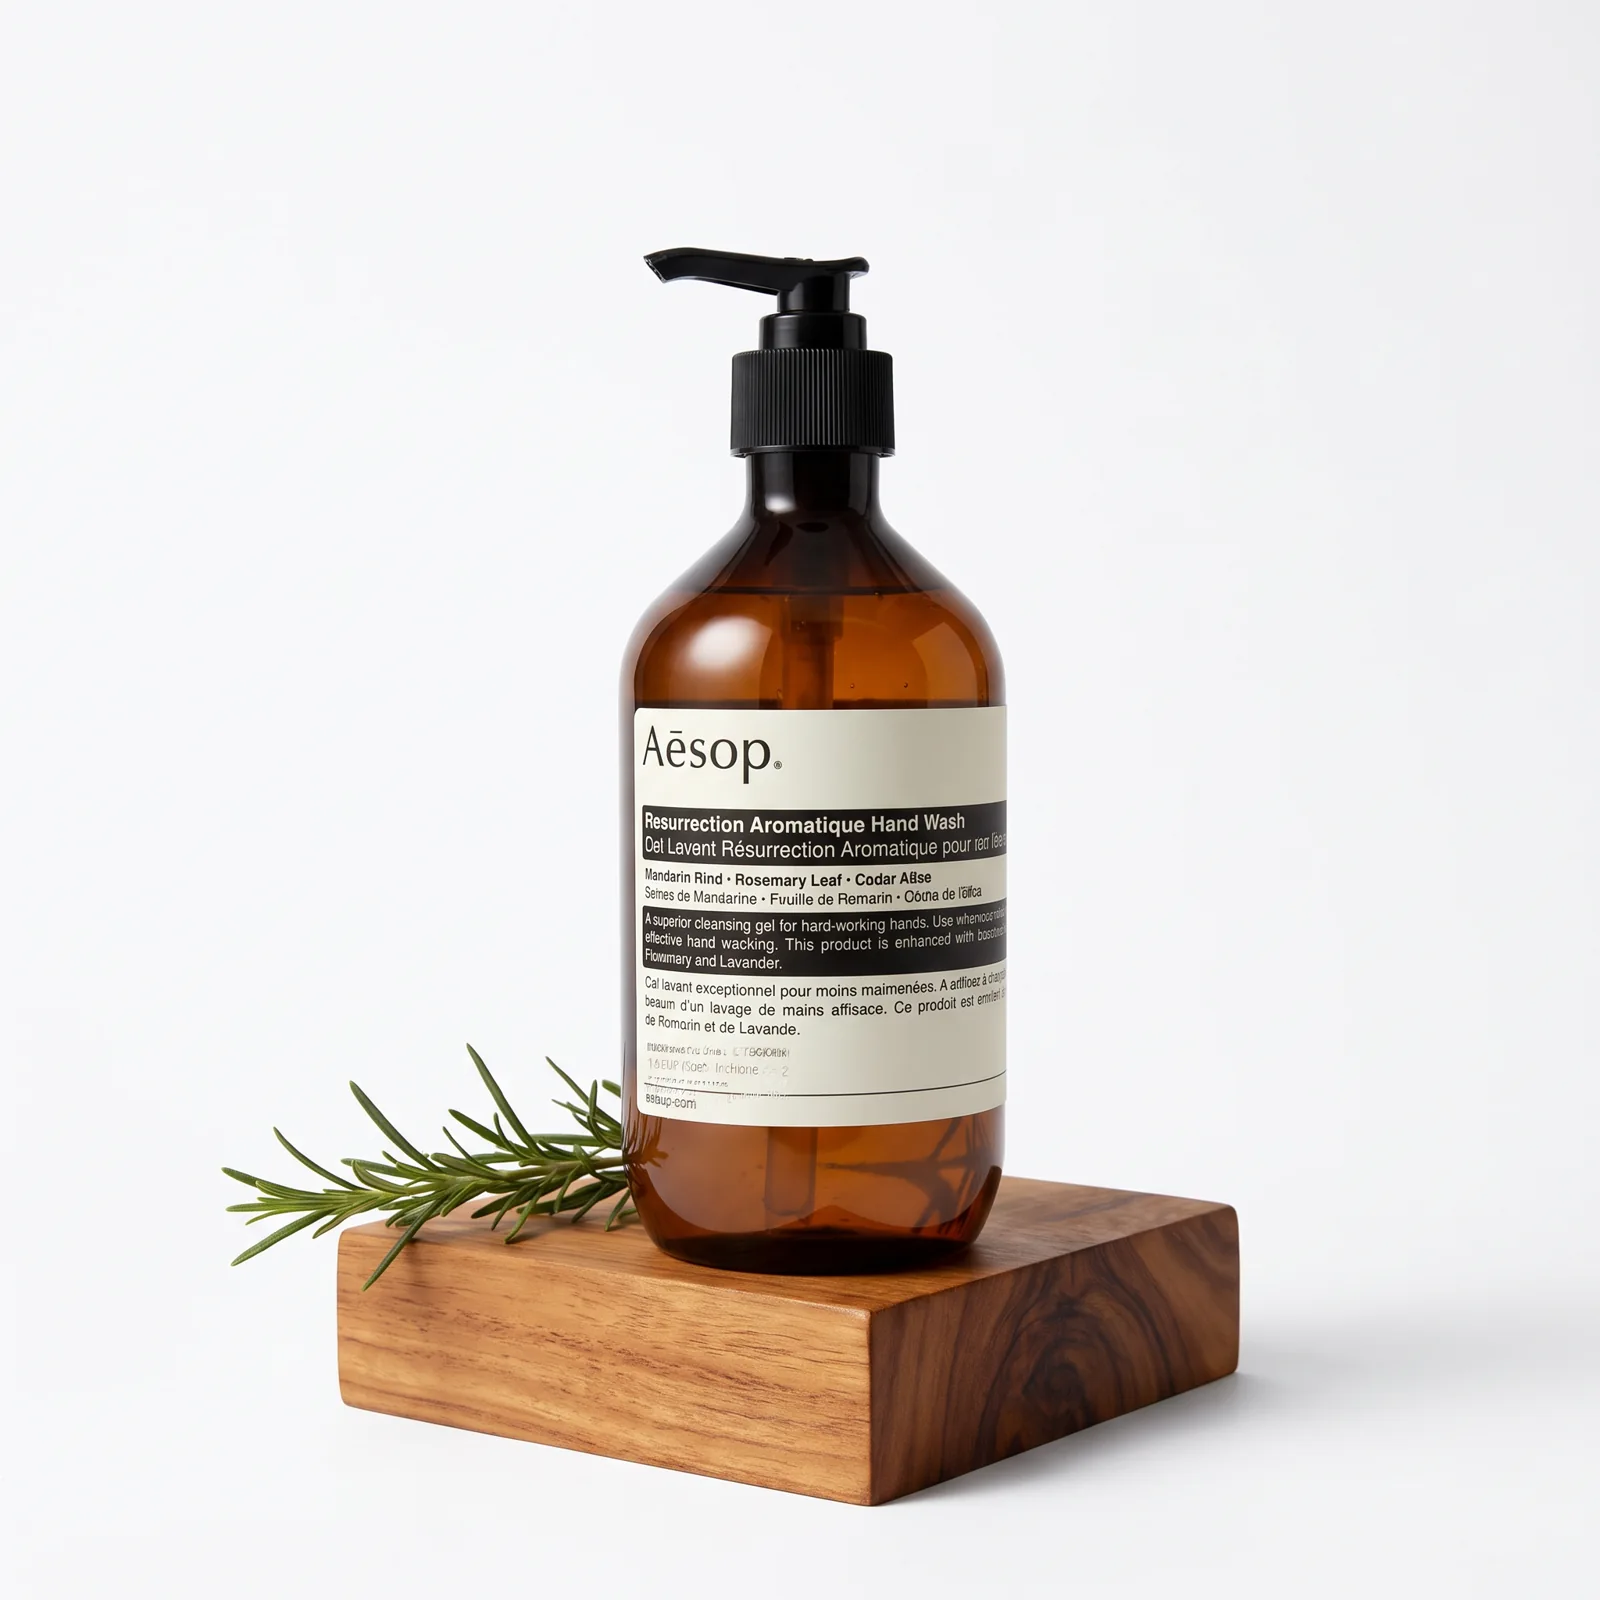
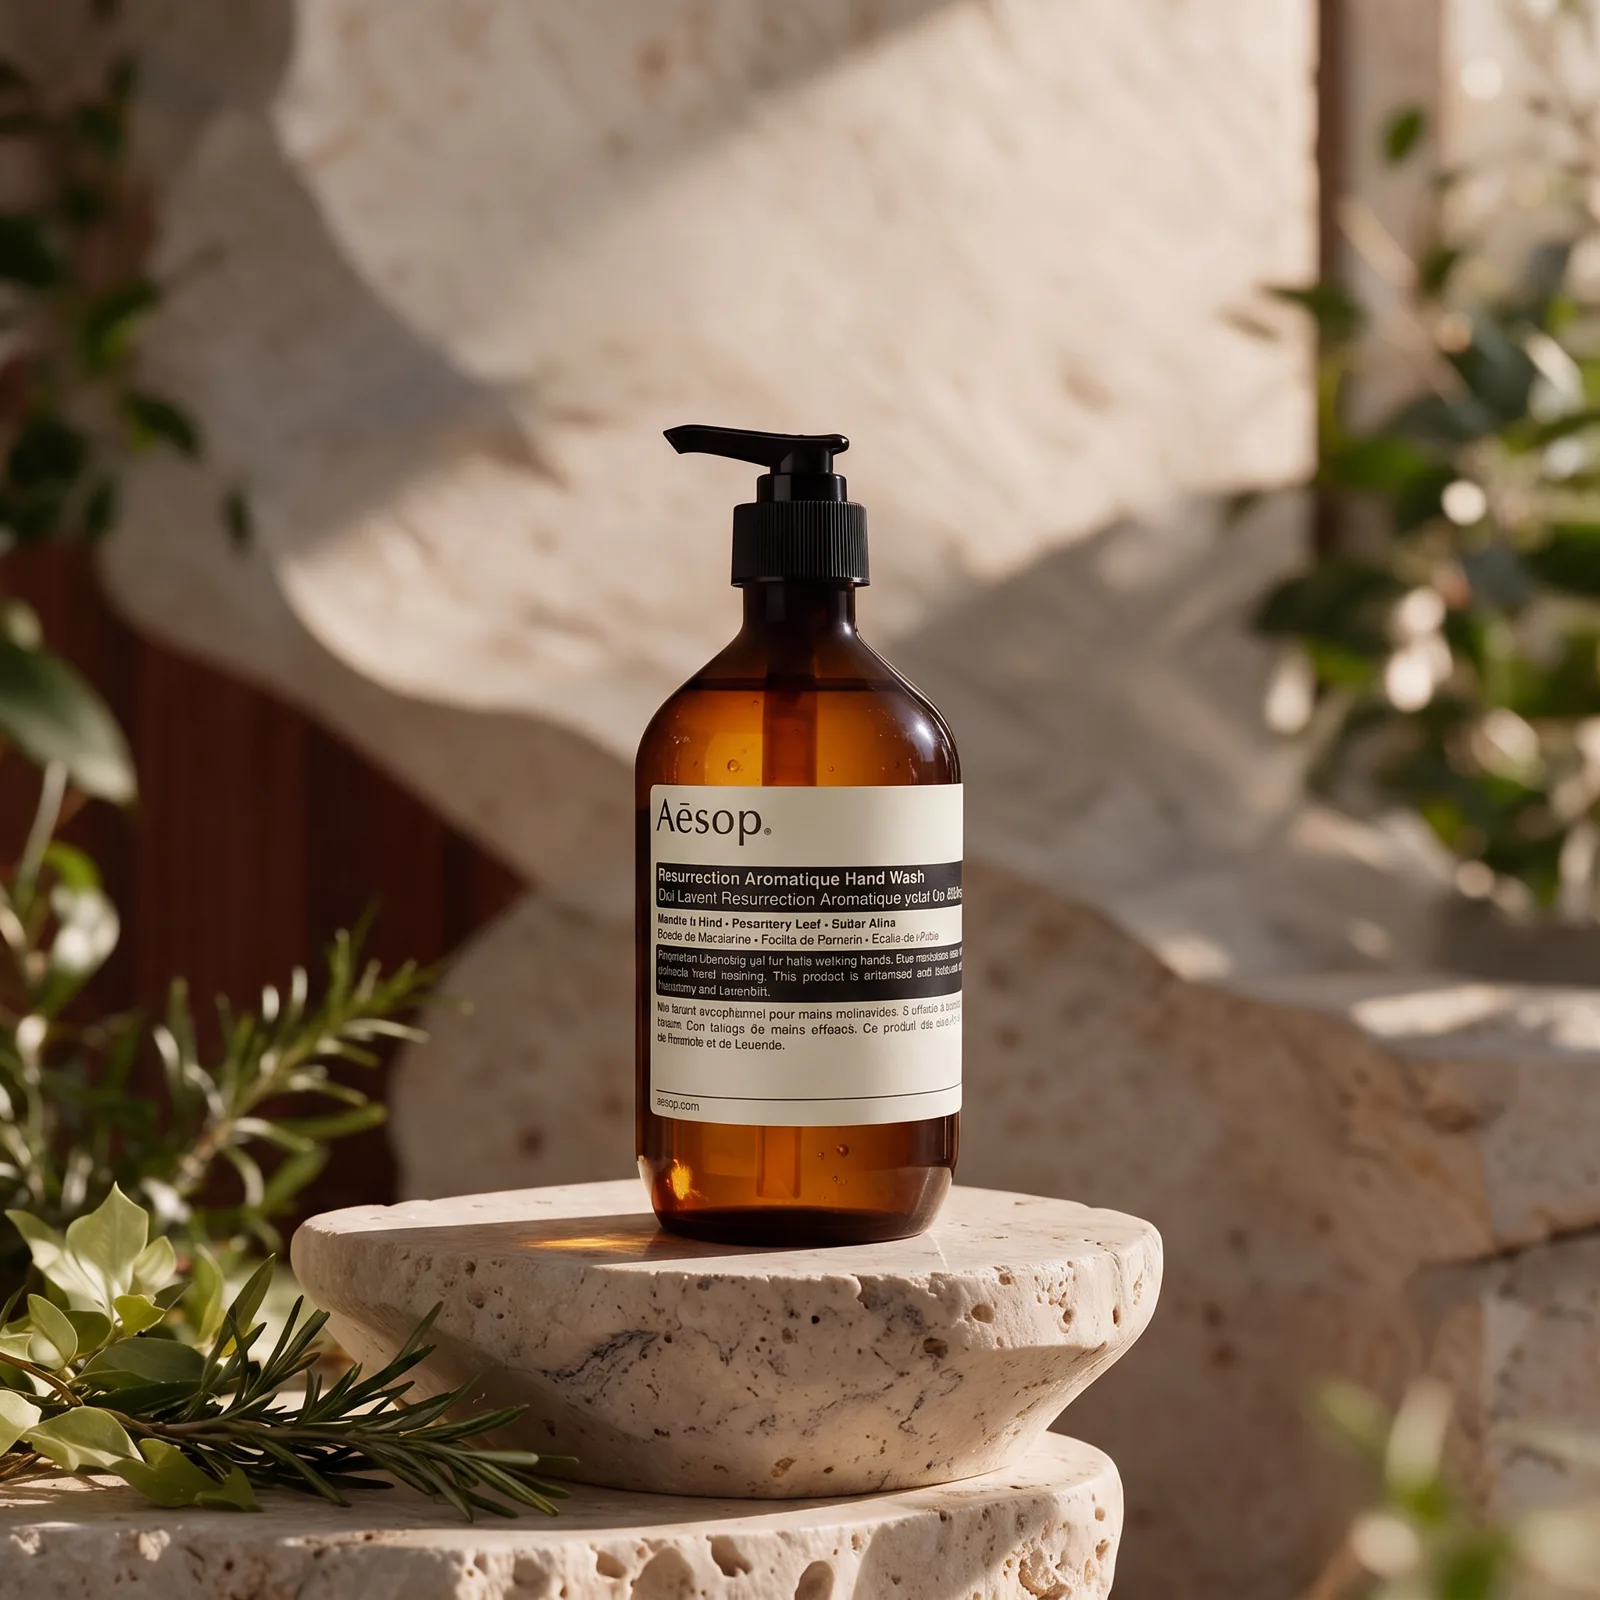
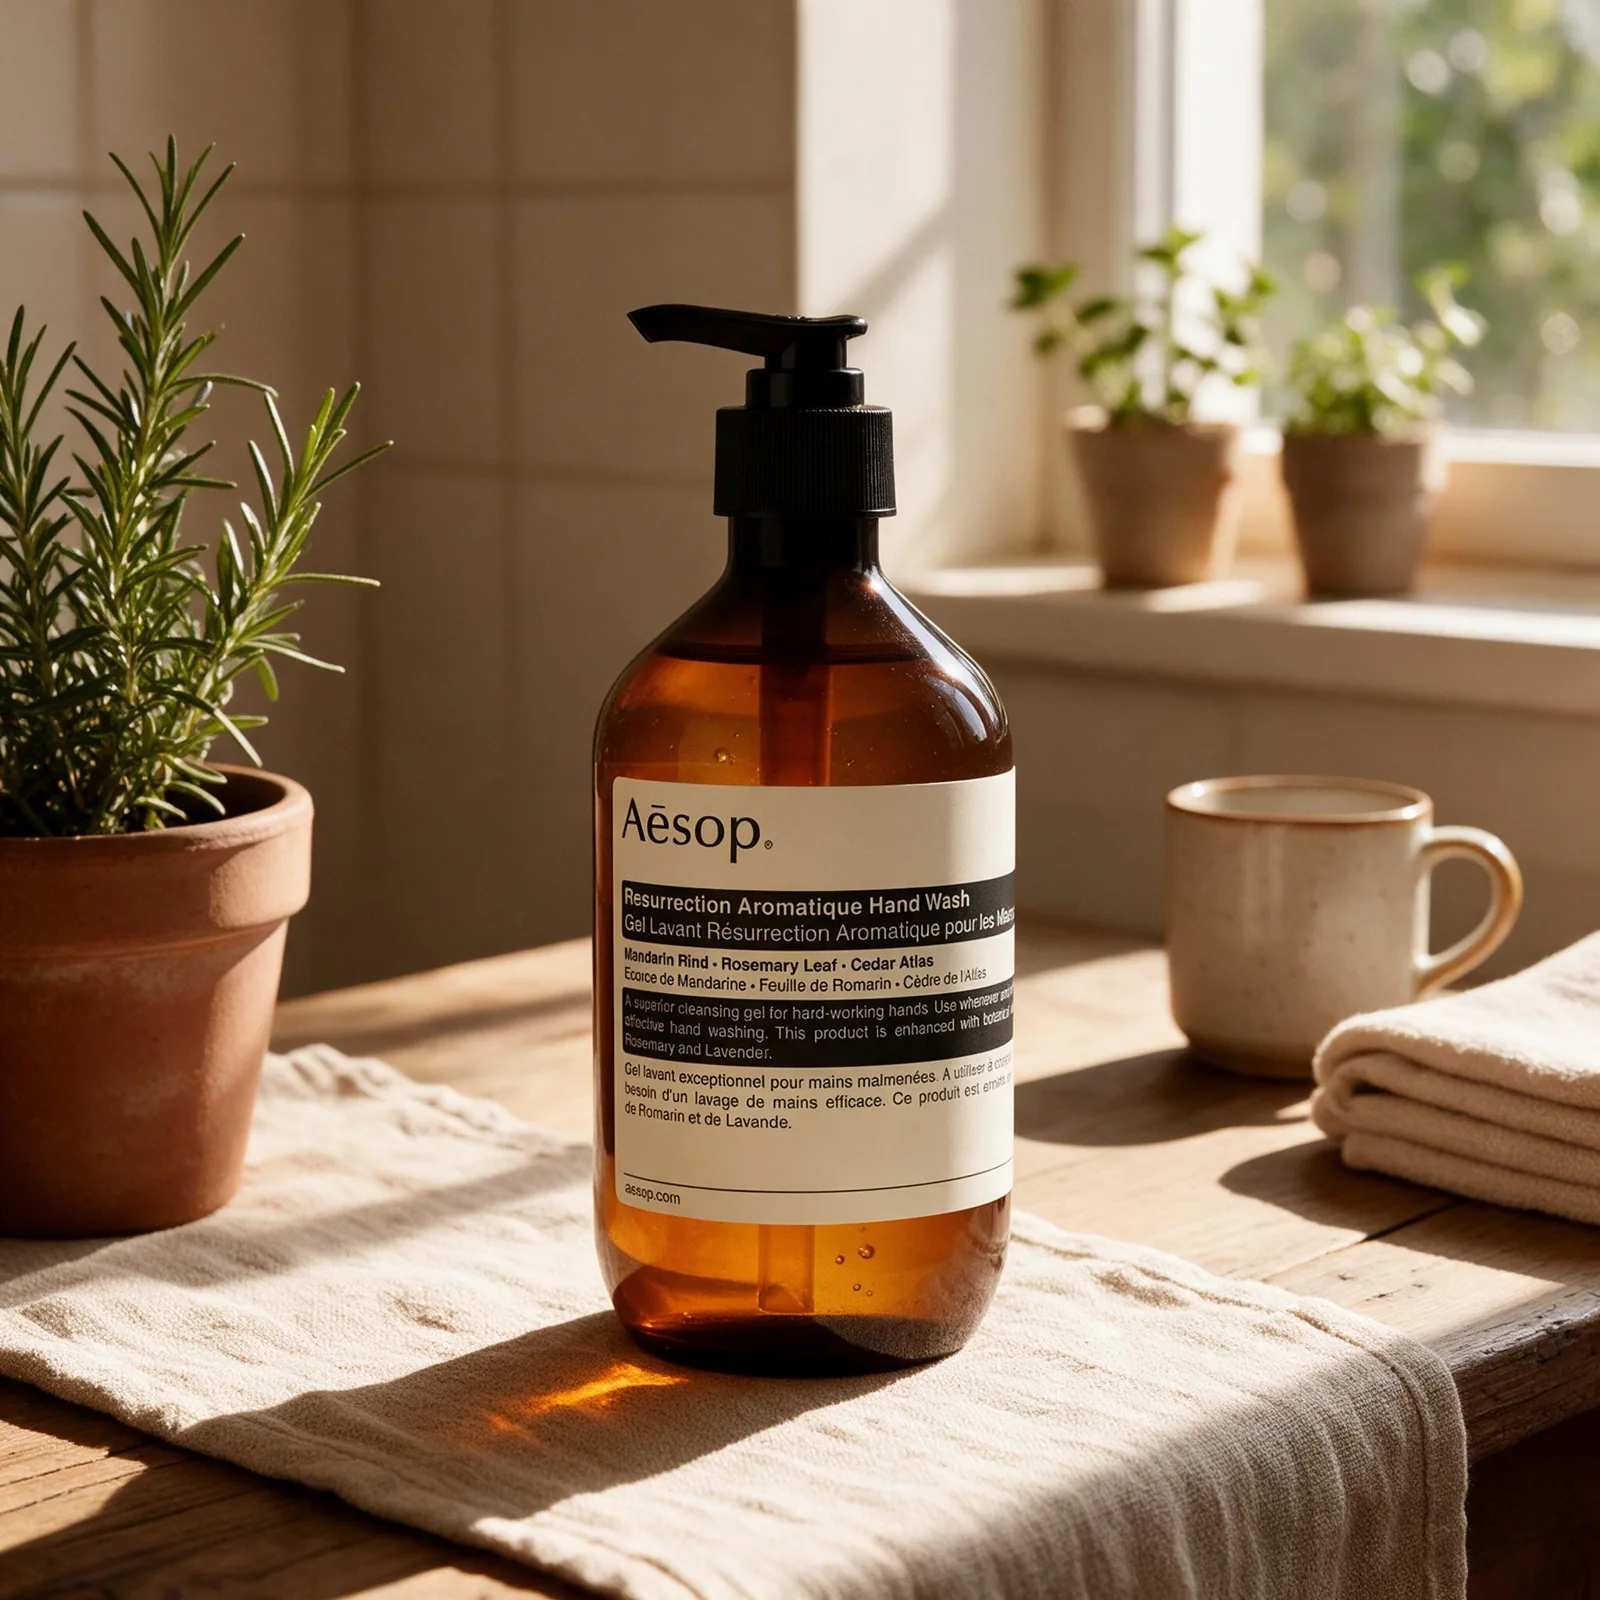
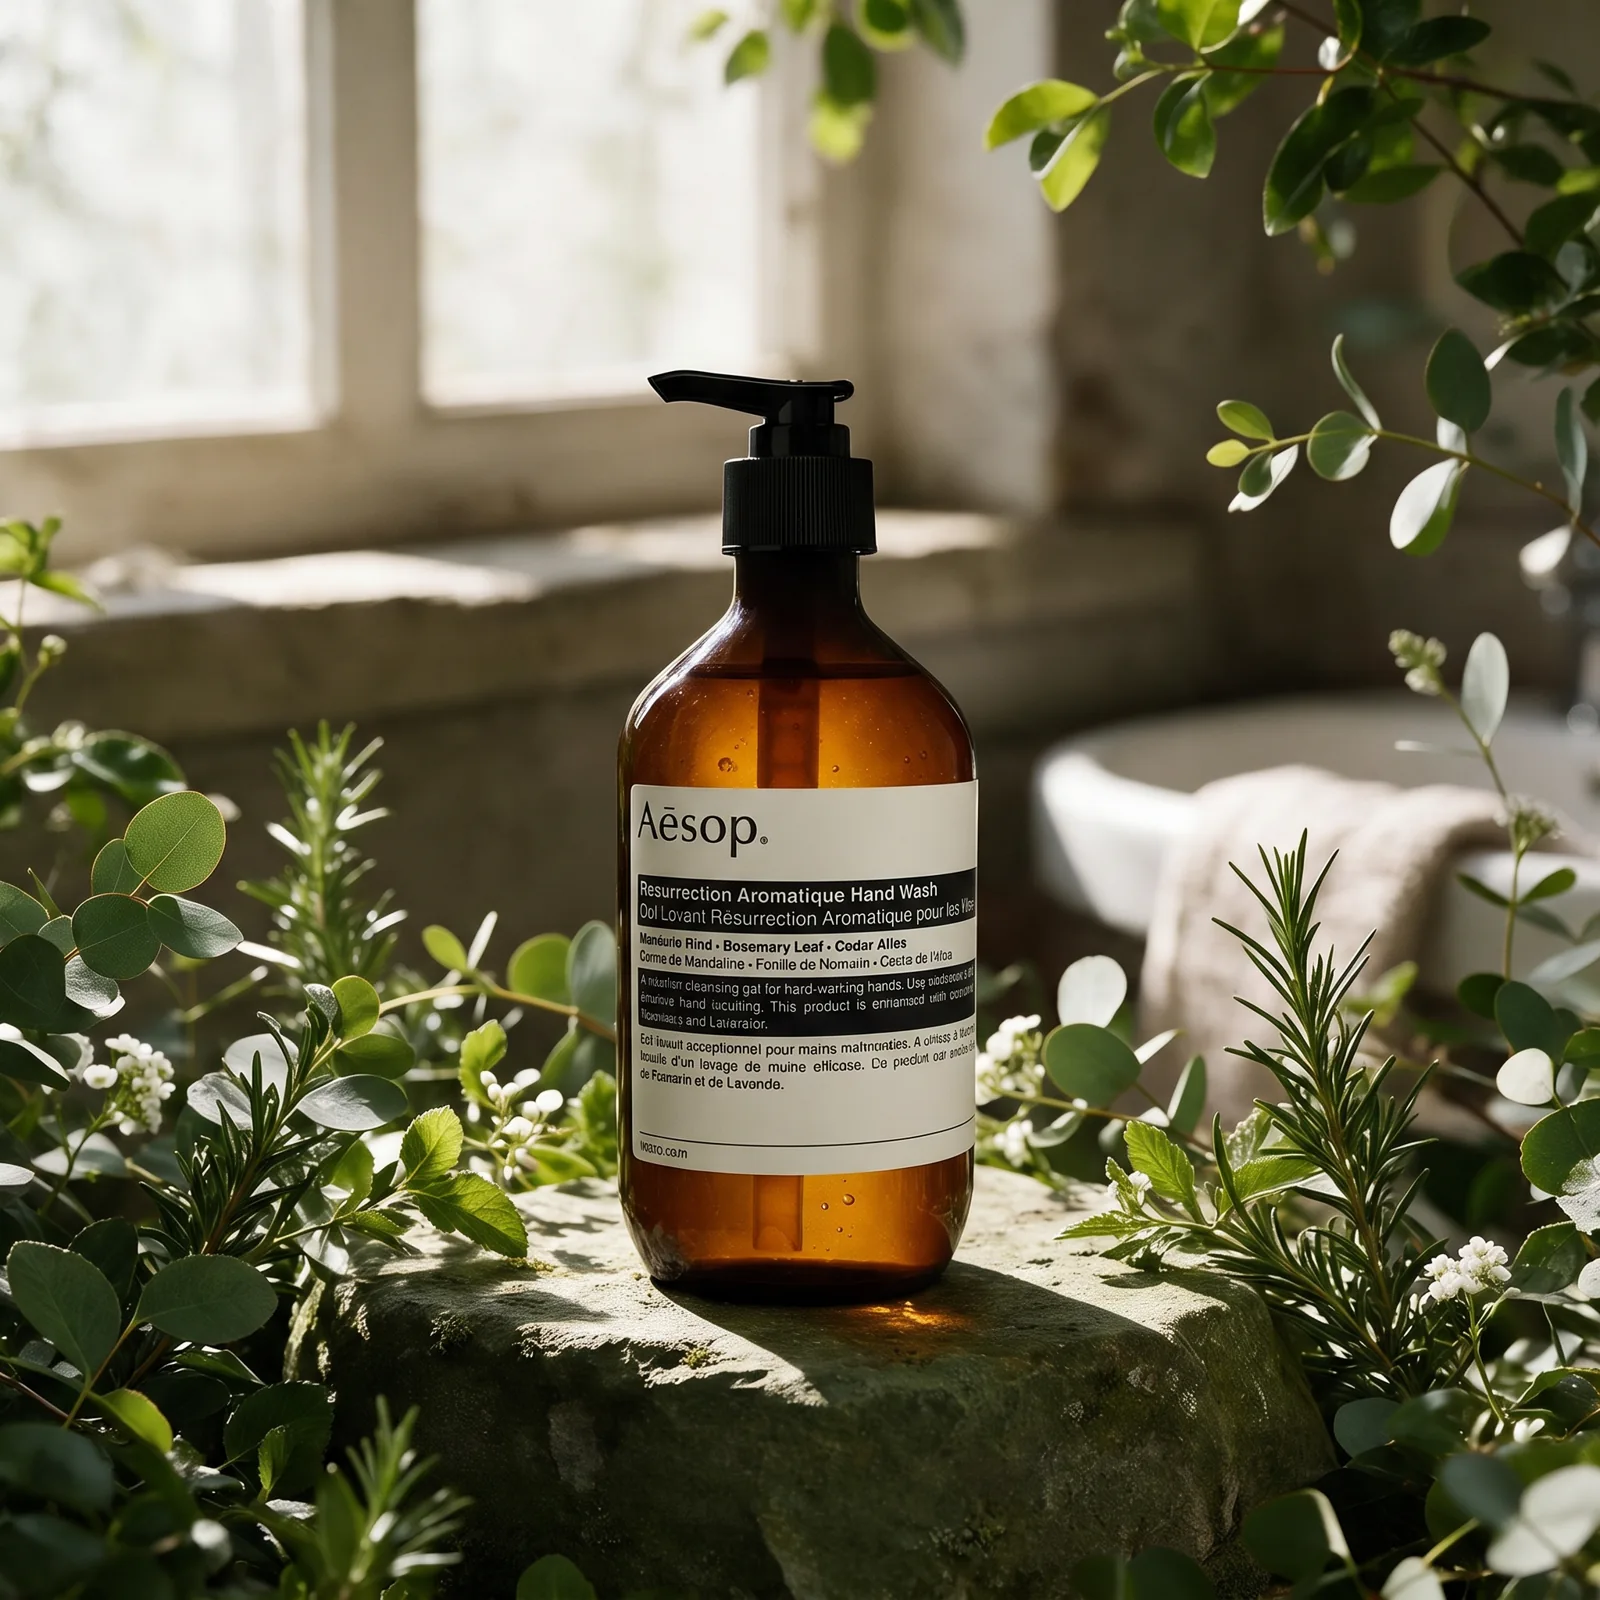
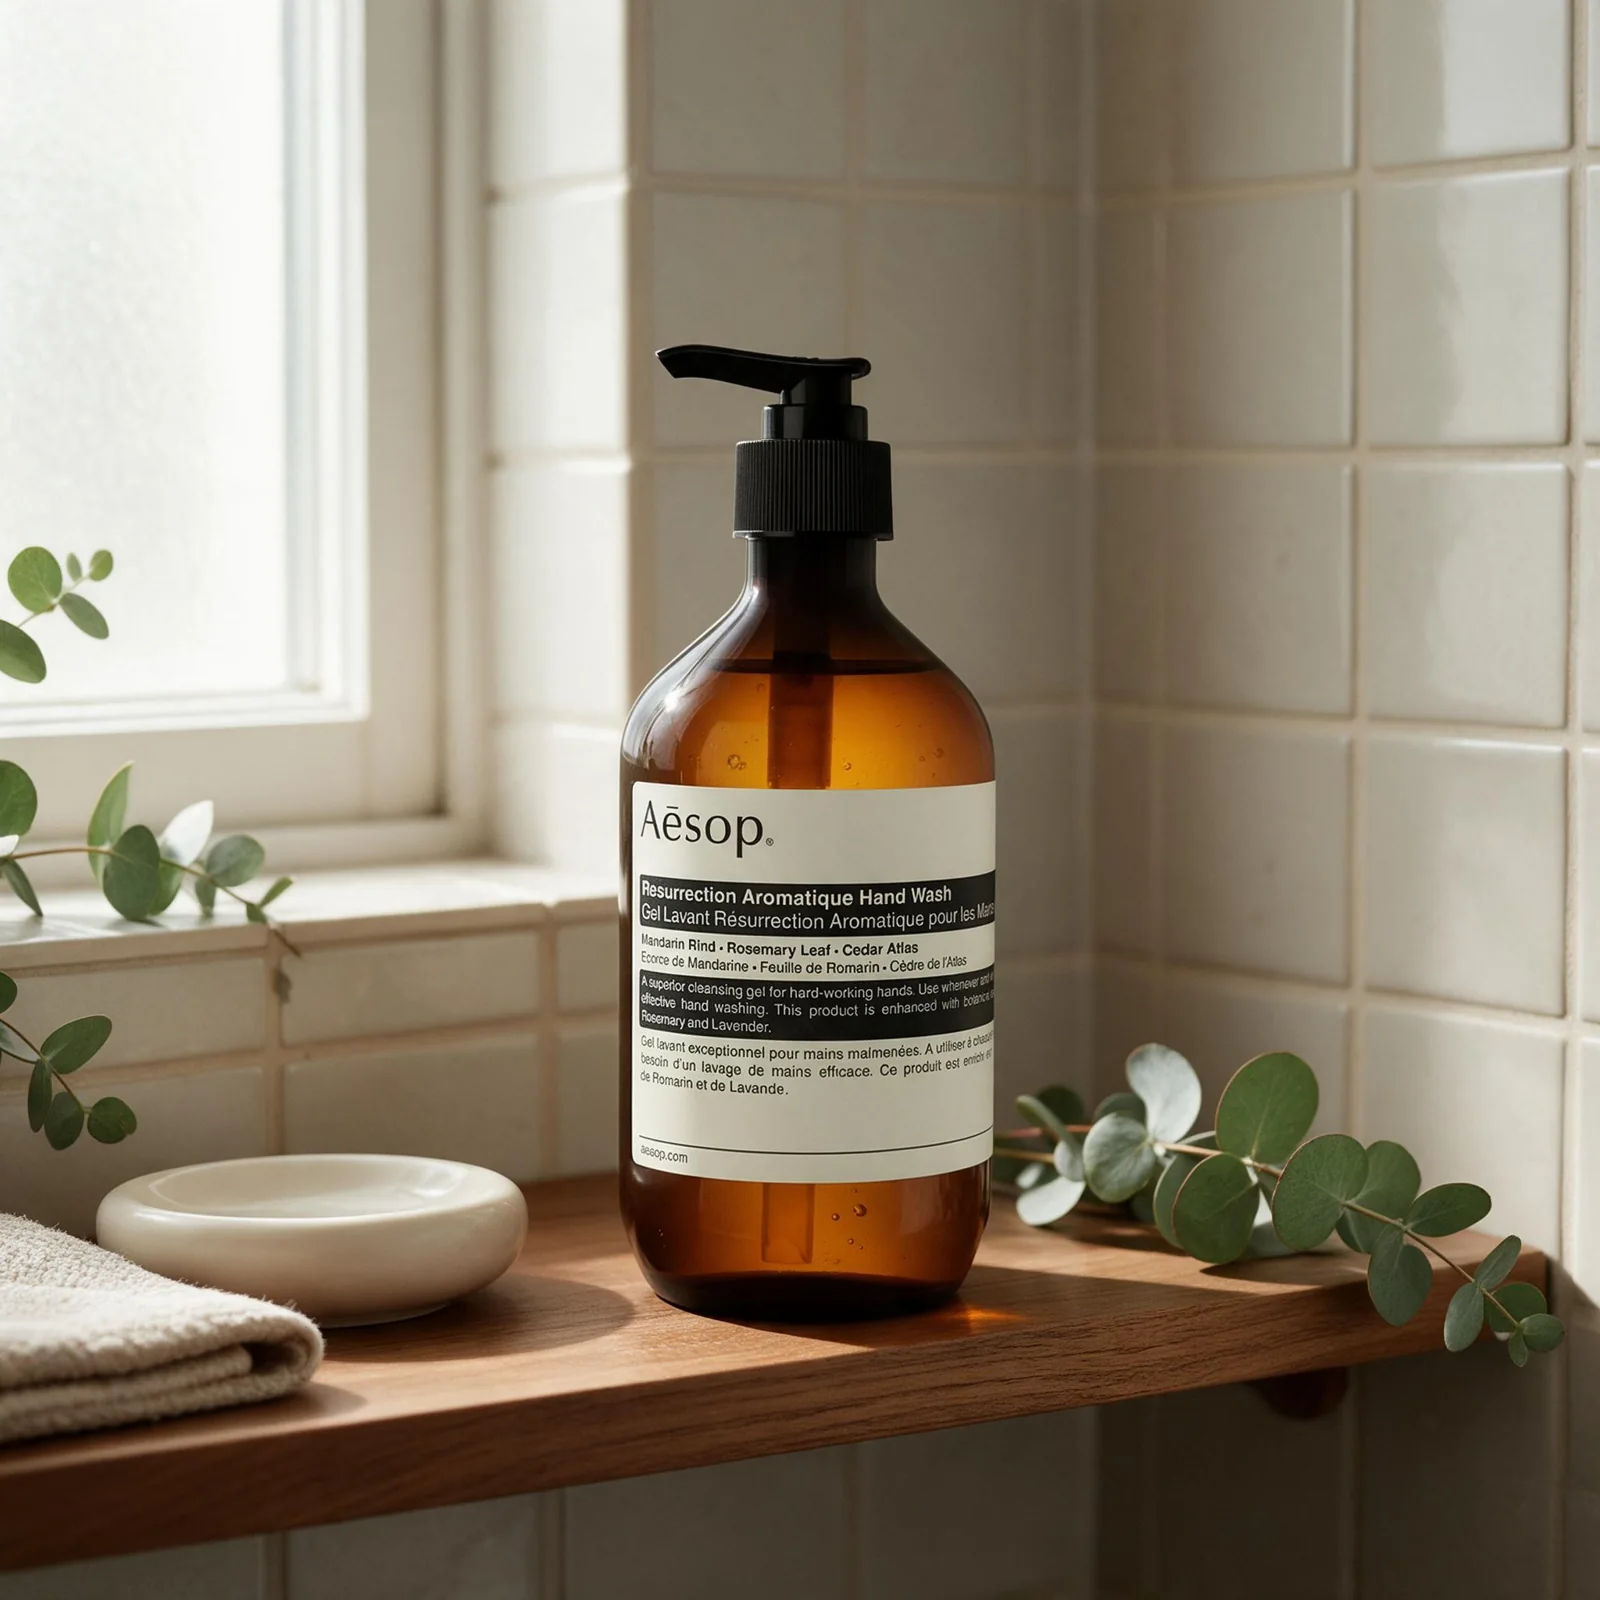
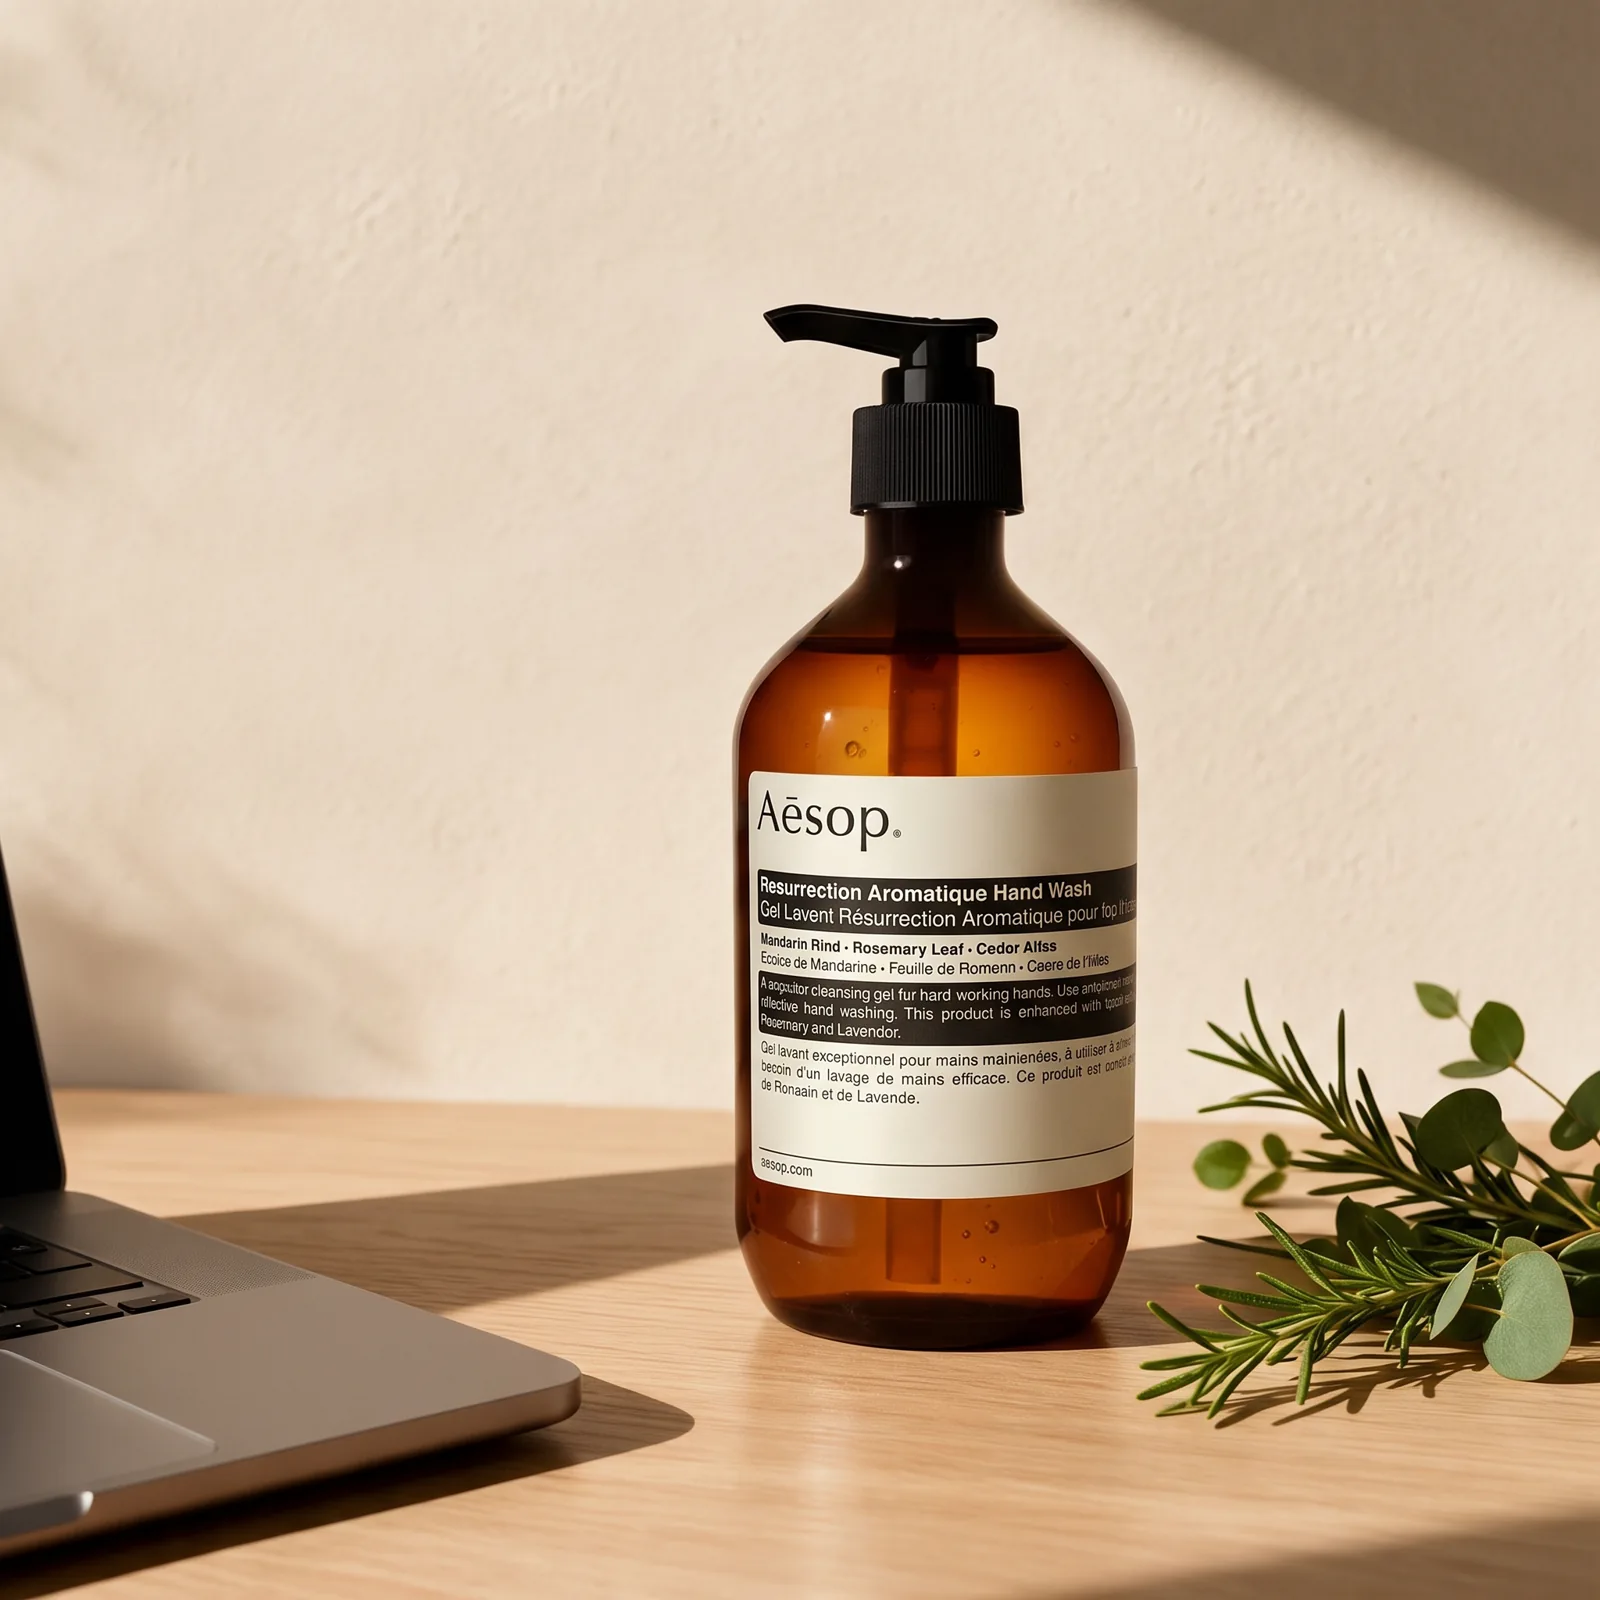
A background changes what a product photograph explains. The six images below use the same real Aesop Resurrection Aromatique Hand Wash bottle with different photographic directions. Start by comparing the surfaces, light and camera height, then follow the Product Studio setup to make your own set.
Decide what the photograph needs to do
Choose a job for the photograph before choosing a preset. A clean studio view helps someone recognise the package. A bathroom shelf places a hand wash where it might be used. A wooden desk or botanical setting gives a campaign a different atmosphere. These are different uses, not a ranking in which the busiest background wins.
Our reference is the real 500 mL Aesop bottle from a retailer photograph. Keep that exact product in the brief: amber body, black pump, cream label and recognisable proportions. A Gallery image can guide the scene, but it should not replace the bottle with the product or person in that reference.
We selected specific Visual Inspiration Gallery photographs for the photographic choices: clean isolation, warm wood and sunlight, cool leafy shade, bathroom tiles, controlled dark highlights and a café desk. The source links accompany the examples. This is more useful than asking for six vague “premium backgrounds.”
Choose a surface the product can sit on
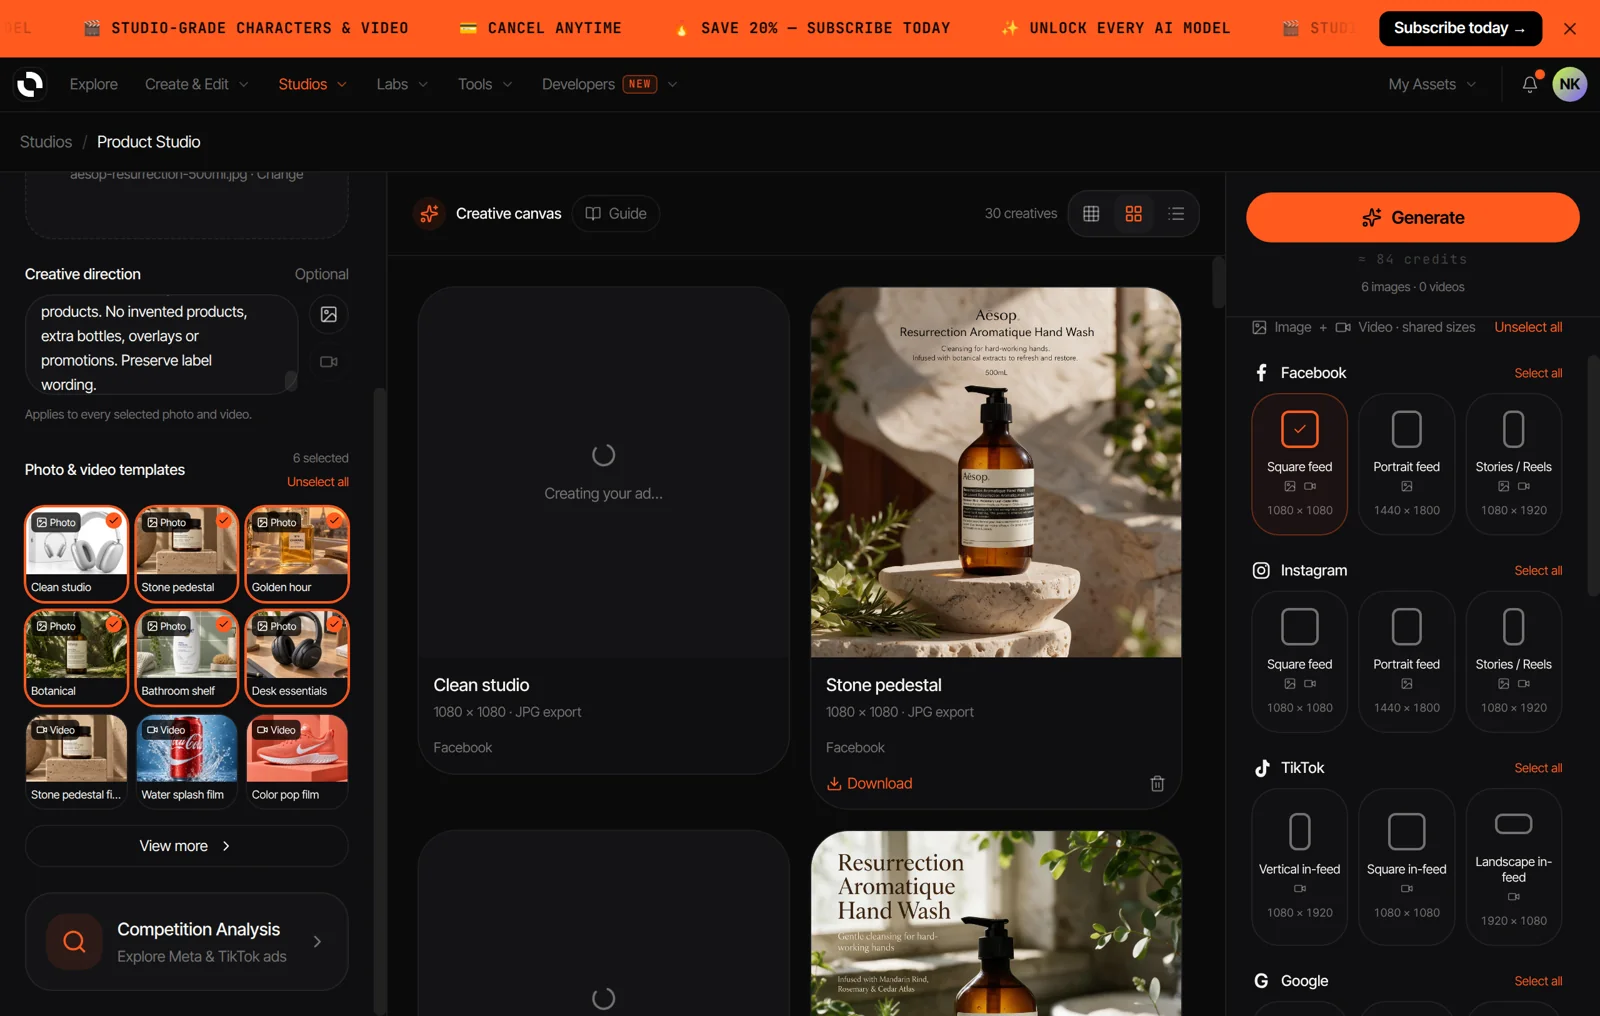
Open Product Studio and upload the actual product photograph. The screenshot below shows our Aesop upload and the six selected photo presets. Use a photograph with the whole object visible and a front label you can read. A cropped pump or blurry label gives the model less reliable information to preserve.
Choose a surface that supports the object. The clean view needs a believable contact shadow. The stone scene needs the base to sit on the pedestal rather than intersect it. A bathroom shelf needs enough depth for the bottle. In a desk view, nearby props should establish the setting without hiding the product.
Camera height changes the result too. A frontal view makes the label easier to check. A three-quarter view reveals depth. An elevated view introduces more of the surface. Put the desired angle into Creative direction when it matters, then inspect the result: a preset name alone does not guarantee the exact view you imagined.
Give the product and background the same light
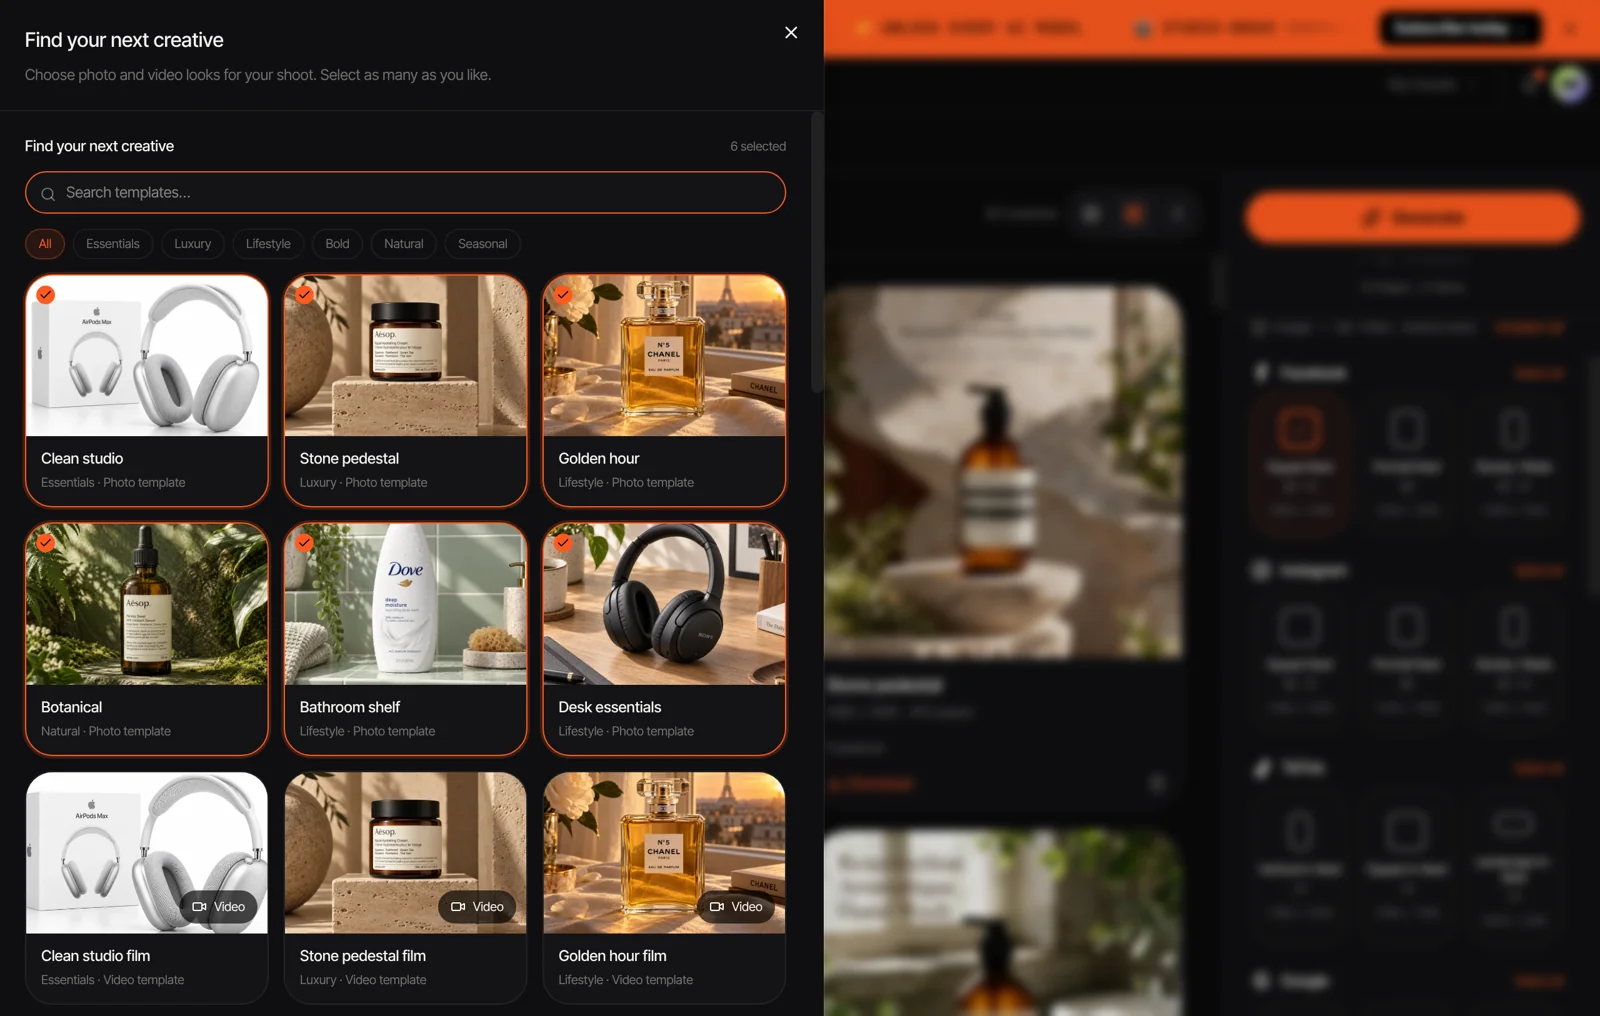
Select Photo templates rather than their similarly named Film versions. We chose Clean studio, Stone pedestal, Golden hour, Botanical, Bathroom shelf and Desk essentials. View more opens the larger picker, where you can see the available looks and selected states before generating. The article shows the real picker rather than a recreated interface.
Creative direction applies to every selected photo and video. Our brief names the actual product, the details to retain, and the Gallery choices that informed each preset. Keep shared constraints together; if two scenes need conflicting instructions, generate them separately instead of asking one global brief to resolve the conflict.
We selected one square placement and one variation, producing six creatives from six presets. Selecting several platform sizes multiplies the jobs. Start with the format you will actually use, inspect the first set, and add other placements after you know the composition works.
Leave the product room to be understood
Compare the light to the chosen background. Golden-hour scenes need a clear warm direction and shadows that agree with it. Botanical shade should feel softer and cooler. A dark studio scene can use a narrow edge highlight, but a bright reflection across the cream label can make the most useful words disappear.
Review the actual creative rather than the preset thumbnail. Product Studio makes advertising creatives, and four of our six results included headline or supporting copy. We used Image Studio Edit to remove that copy while retaining the preset scene, the selected Gallery reference and the real bottle. The opening collage shows the resulting photographs; the screenshots show the earlier Product Studio stage.
For the cleanup edit, use the preset result as one reference, the Gallery photograph as another, and the real product photo as the package reference. Ask to remove only lettering outside the actual label and preserve the background, surface and light. Check the result again rather than assuming that removing a headline also makes the small package wording correct.
Compare the background and product separately
Build the opening collage from images that make a clear comparison. Keep the same product variant throughout and label each treatment. Readers should be able to see why a clean studio view, a warm lifestyle scene and a darker product view communicate differently without opening six unrelated articles.
Before choosing a final image, check that it suits the intended placement. Leave room for a separate headline if your designer needs one. Keep essential package details away from an edge that a later crop may remove. A square creative can be a useful starting point, but a tall ad needs its own framing check.
Save the source product photograph, selected Gallery references, Creative direction and returned images together. When you ask for another set, change the surface, angle or light deliberately. That keeps the next generation connected to a photographic idea rather than drifting into a generic product render.
Product and photographic sources:
Aesop Resurrection Aromatique Hand Wash 500 mL ·Gallery source for Clean Studio: @advertiser_e3e98c09955a664e79
Gallery source for Stone Pedestal: @whoiselijahparfum
Gallery source for Golden Hour: @advertiser_fa8831f003e37a4bd1
Gallery source for Botanical: @siennaschmidt
Gallery source for Bathroom Shelf: @abileeboivin
Gallery source for Desk Essentials: @yasminearabella
To build a complete product photography workflow, explore Affogato Studios. For individual creation tools, browse Affogato Tools.