How to Use Seedance 2.5: Create Videos With Real People in Affogato
Use Seedance 2.5 in Affogato’s web app: add a person’s photo, describe a new scene, generate a video and download the finished result.
You have a photo of a person and an idea for a video. In Affogato, you can use Seedance 2.5 to put that person into a new scene, choose the format and download the result—all in your browser.
Some providers reject photos containing real human faces. Affogato supports real-person photos in its Seedance 2.5 workflow, so a rejected face upload elsewhere does not have to end your project. Use a photo you have permission to use; supported inputs still need to meet content and file requirements.
This guide focuses on the website. You do not need an API key or Python. For a workflow you can run from your own application, use our Seedance 2.5 API tutorial.
1. Choose the workflow for your idea
Open Video Studio and select Seedance 2.5. Before uploading, decide what role your photo should play. If you want the video to start with that exact photograph, choose image-to-video. If you want the same person in a different setting, choose the Reference tab and Seedance 2.5 (Reference to Video).
For this walkthrough, use the second option. The photo establishes who appears in the video; your prompt describes what they do and where it happens. A street photograph can become a birthday dinner scene without turning the street itself into the opening frame.
2. Add the person you want in the video
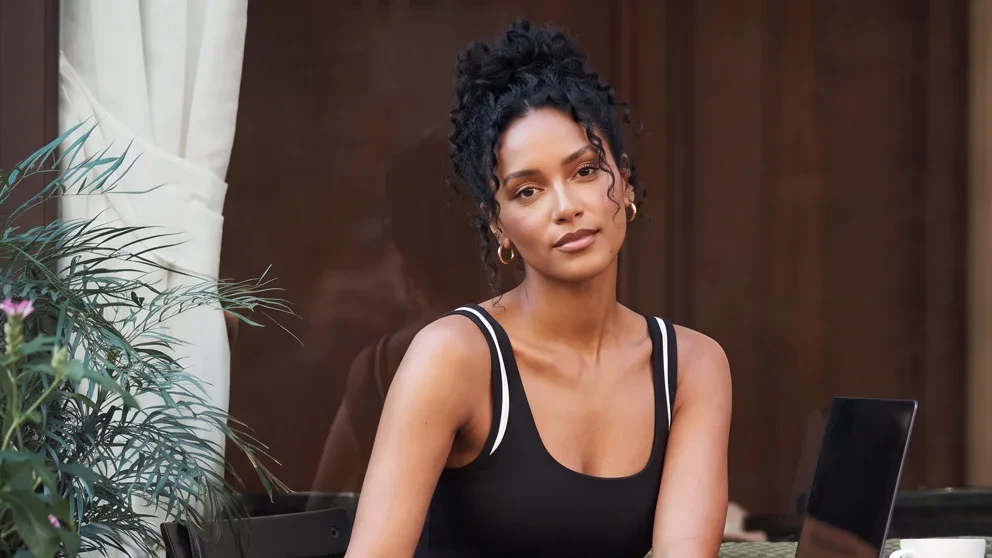
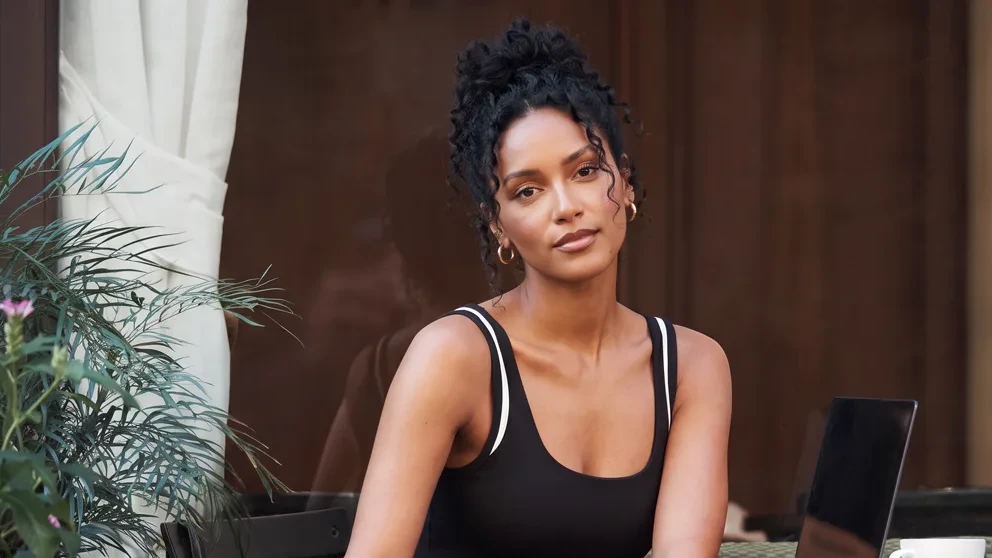
Let’s use Noor, a fictional character. Start with a clear photo where her face is easy to see. In your own project, this can be an authorized photo of you, your presenter or another adult participant.
Add the photo to Reference image. Check that the upload has completed and the correct thumbnail is visible. If you use a saved character, confirm that you selected the intended character before continuing.
For a first attempt, keep the input simple: one clearly visible person, one scene and one short action. A crowded photograph makes it harder to specify who the video should follow. Adding more material is useful only when each item has a clear purpose.
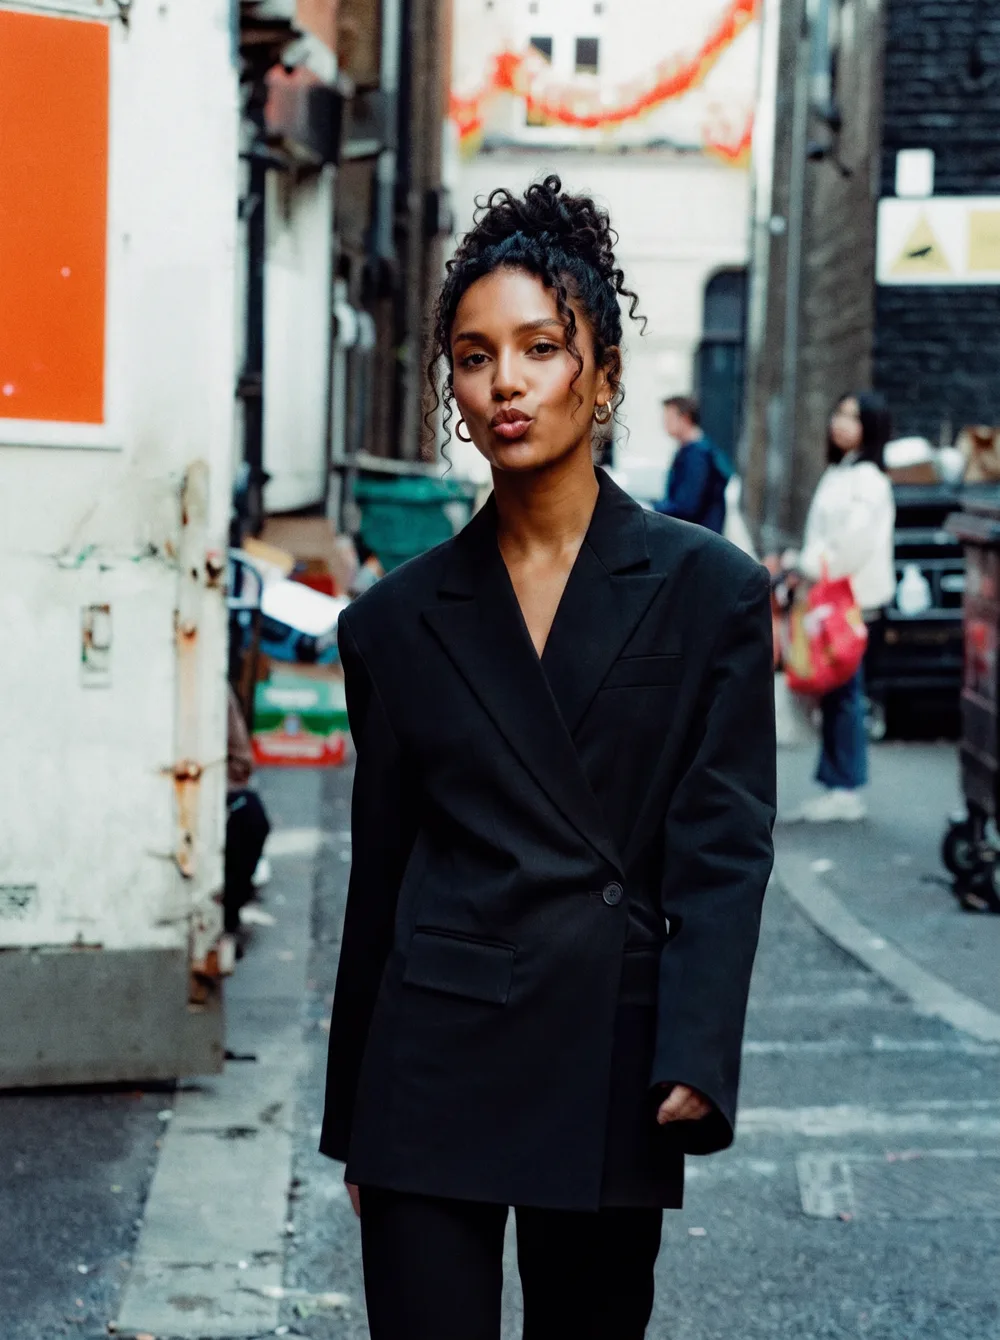
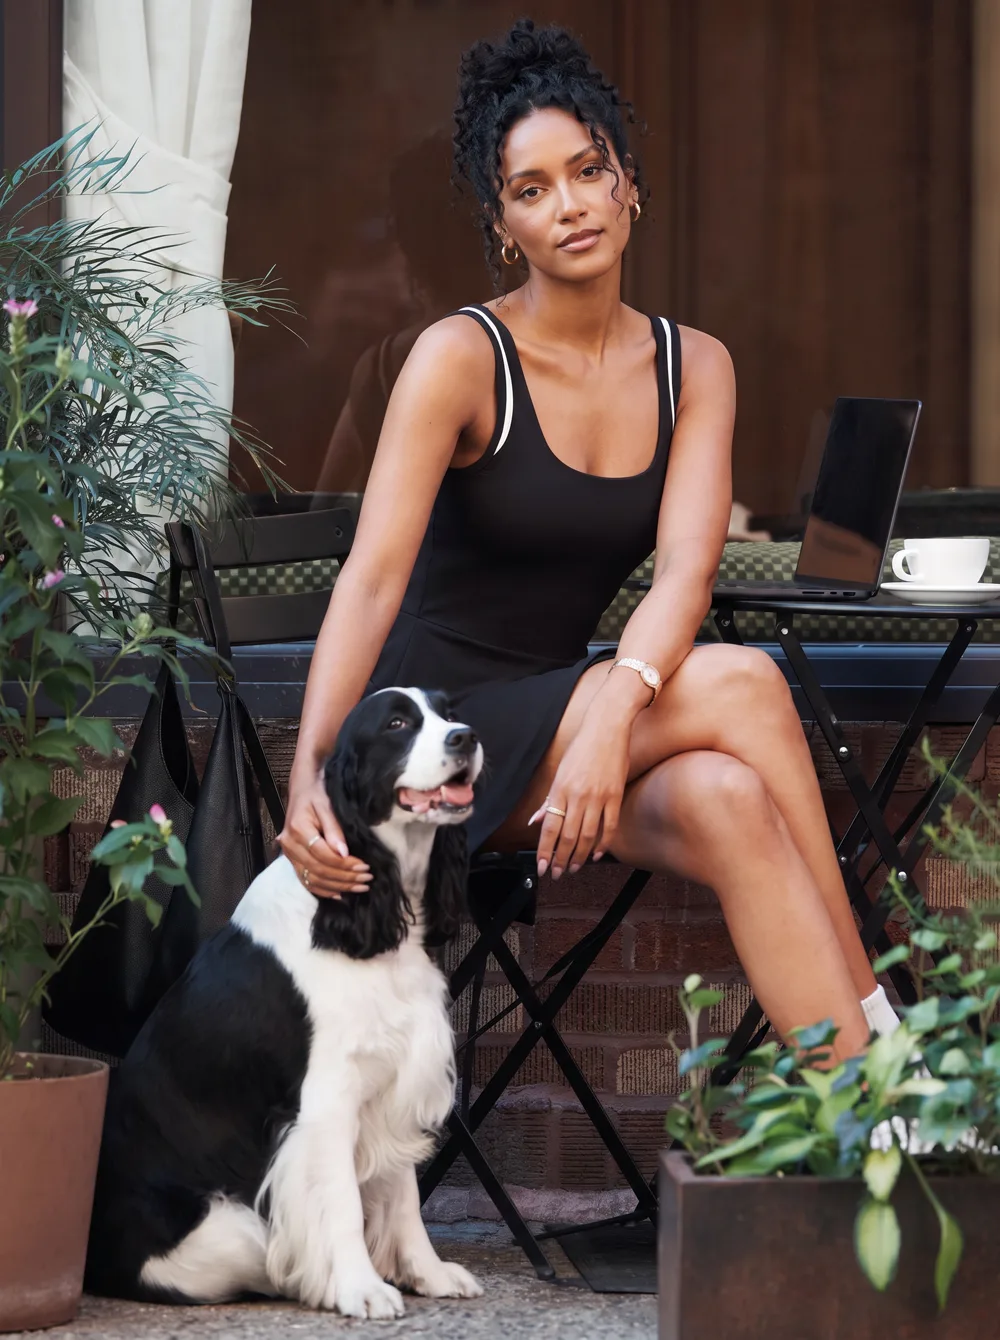
3. Describe a completely new scene
Write the prompt around four decisions: who appears, where they are, what they wear and what they do. Tell the model to preserve the person’s identity while composing a new shot. Keep an action short enough to fit the clip.
Create a new scene starring Noor, the adult woman in the uploaded photos. Preserve her face, curly updo and hoop earrings. She sits in a restaurant booth wearing a black off-shoulder outfit. She holds a dessert plate, blows out its small candle and laughs toward the camera. One continuous six-second shot.
This is a starting prompt you can adapt. Replace the setting, outfit and action to suit your idea. Avoid asking for a beach arrival, an outfit change and a speech in the same short clip. Make those separate shots so each has enough time to read clearly.
For more examples of the same character in different settings, see our Seedance 2.5 guide to videos with people.
4. Choose duration, format and resolution
Pick the aspect ratio for the destination: 9:16 for a vertical social video, 16:9 for a landscape video, or 1:1 when you need a square composition. Choose it before generating so you can compose for the space you will actually use.
A six-second, 720p clip is a manageable first attempt for a single action. Choose a longer duration when the performance needs more time. Use the settings offered by the selected model; changing workflows can change the available controls.
Decide whether you want generated audio, then read the displayed credit estimate. The estimate belongs to the selected model and settings. Check it again after changing duration or resolution rather than budgeting from a previous job.
5. Generate once, then watch the whole result
Sign in when prompted and make sure your account has enough credits. Select Generate once. Leave the job to finish; a pending result is not a reason to submit a duplicate.
When the video is ready, play it from start to finish. Check the face during movement, the hands, the outfit and whether the action fits the scene. Listen to the sound as well. A convincing thumbnail does not tell you whether the full video works.
If the result needs another attempt, change one clear instruction: simplify the action, specify where the person looks, or keep the face visible. Keep the successful parts of the prompt so you can understand what the change improved. A new attempt is a new generation with its own credit estimate.
Keep Noor, change the scene
Keep the same person and give each video a different setting and one clear action. Below are two completed examples. Both used six-second, 720p, 9:16 settings and an additional motion clip. The prompts shown here are simplified scene briefs.
Birthday dinner
Noor holds a dessert plate, blows out a candle and laughs. Keep the framing close enough to read her expression and the action simple enough for six seconds.
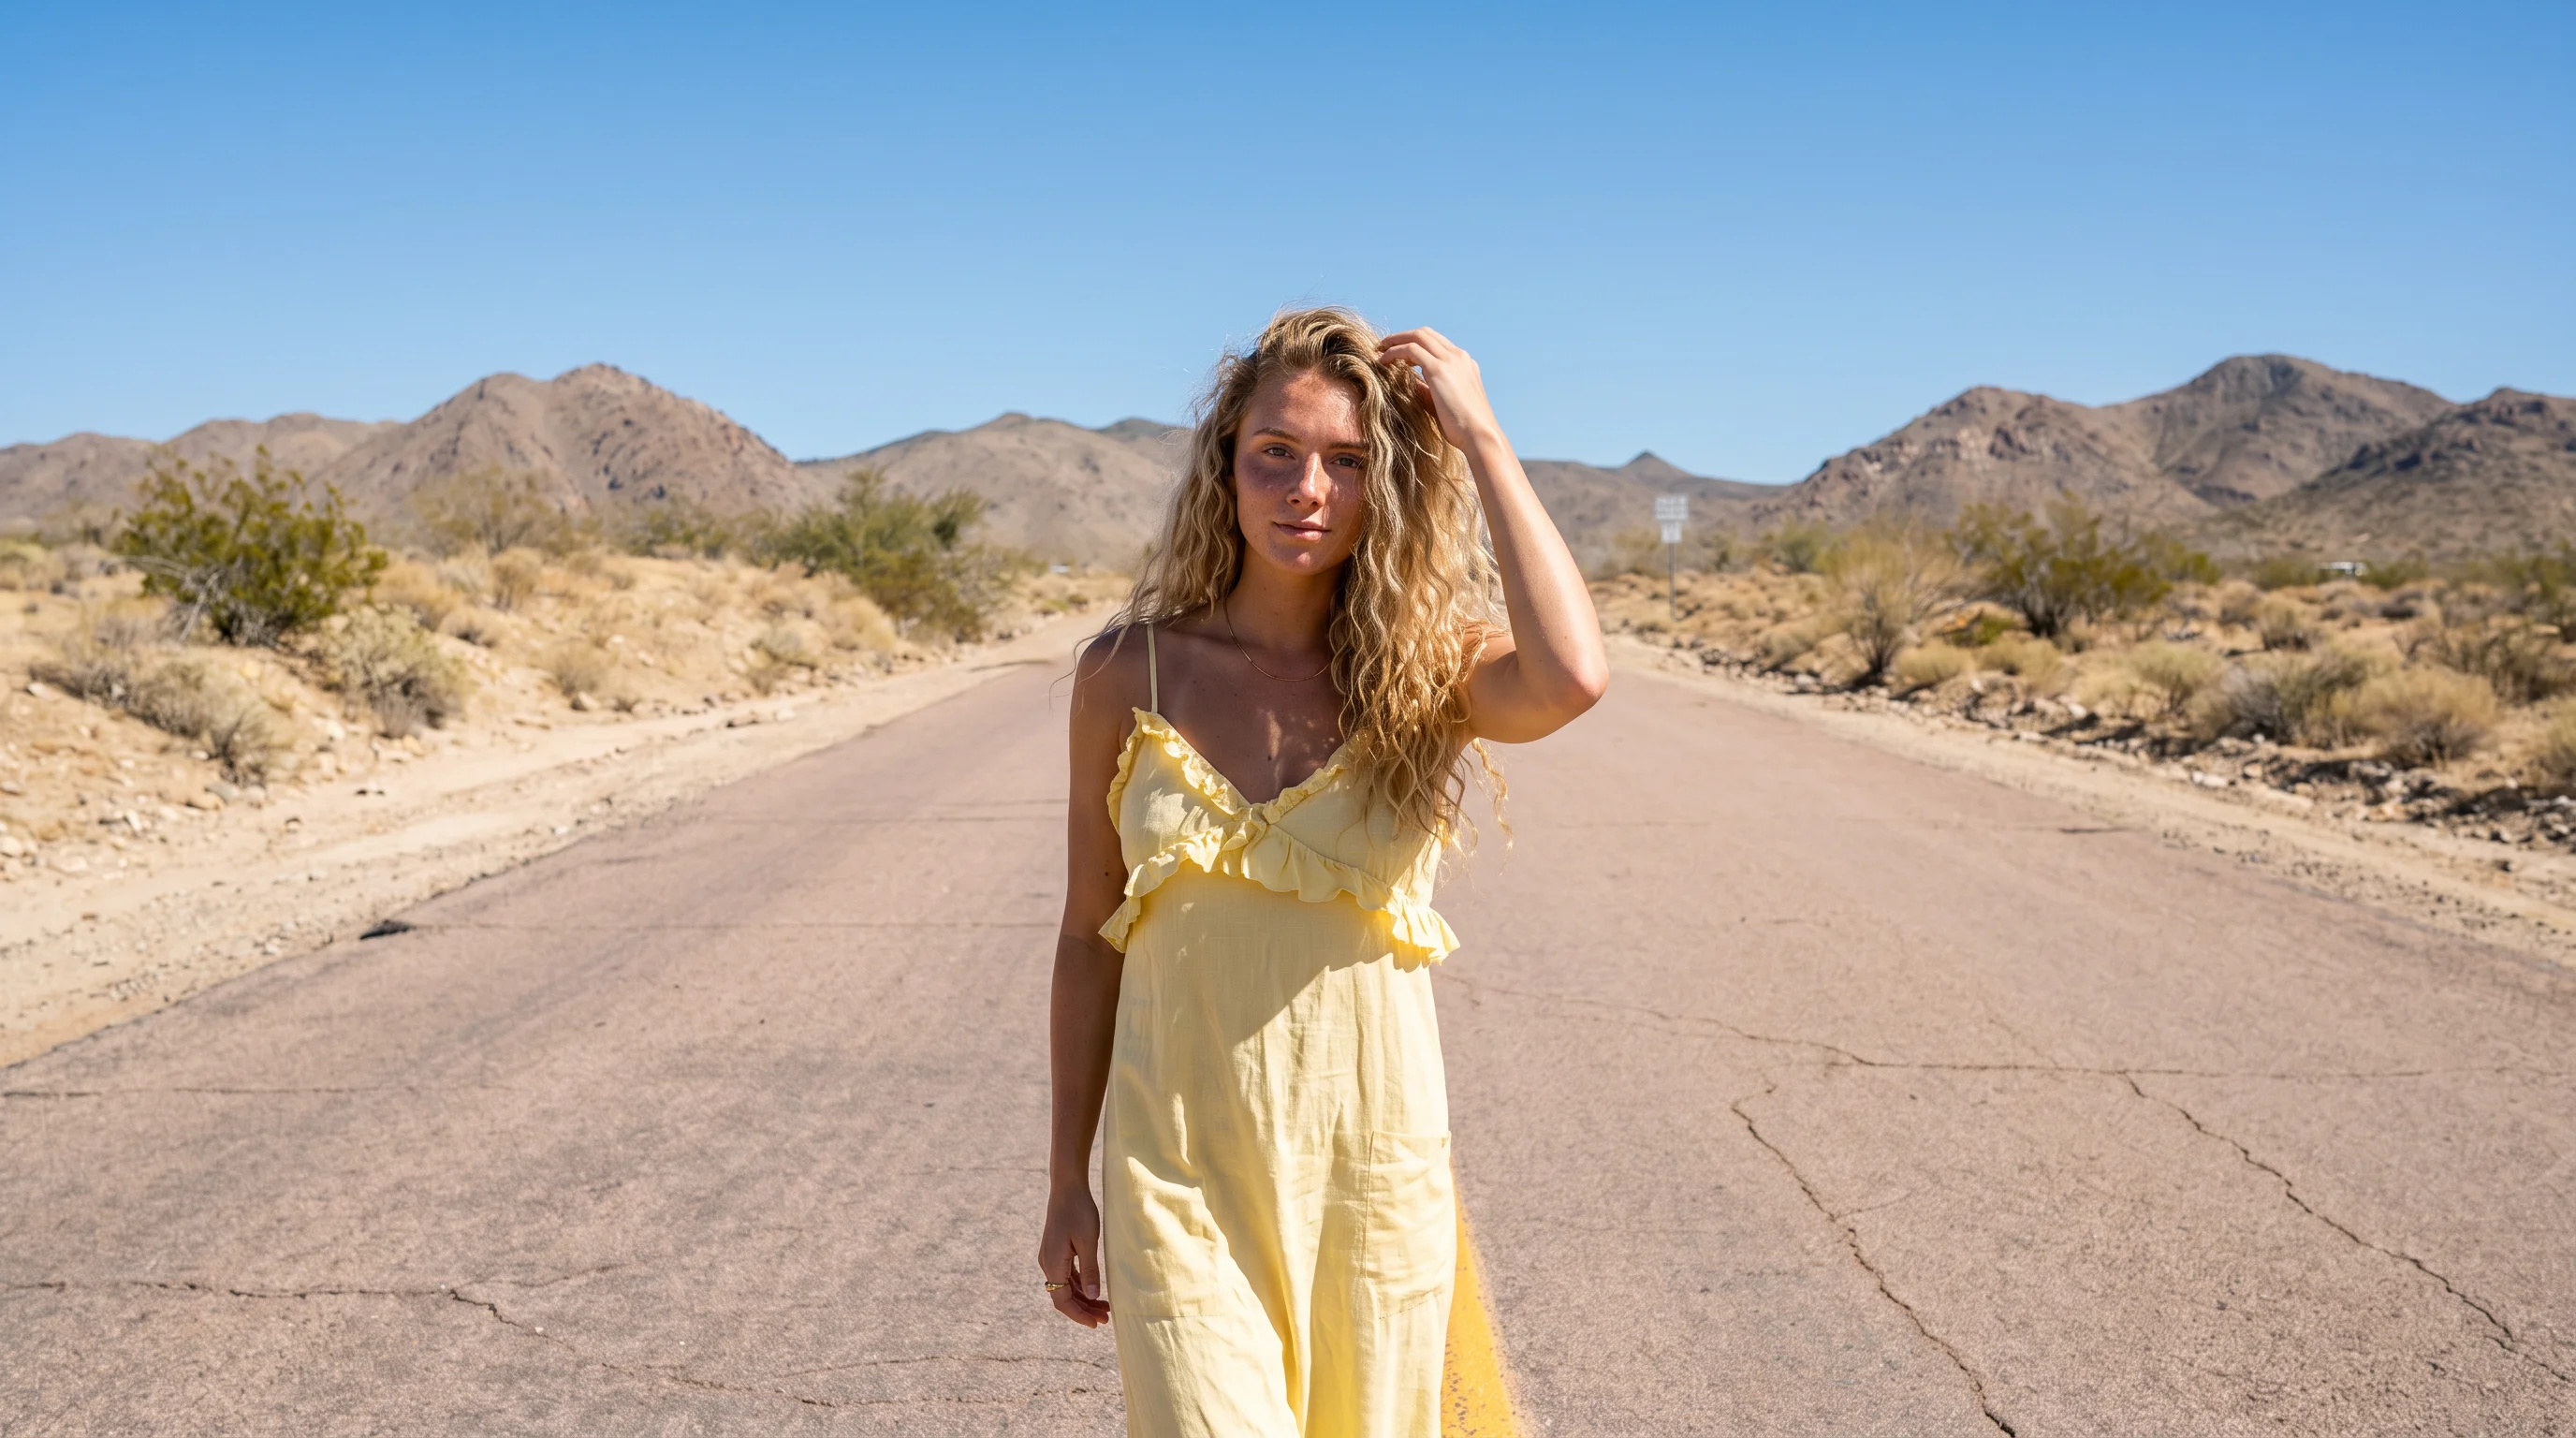
Desert-road fashion
Noor wears a yellow dress on an empty desert road. She turns from profile toward the camera, gathers her skirt slightly and takes two steps. Keep her face clearly visible. One continuous six-second shot.
Review the full-body movement and whether her face remains recognizable as she turns.
6. Find the finished video and download it
Open the completed video in the Studio results. Use the video’s Download action to save the file, then open the downloaded copy to confirm that it plays and contains the full clip.
If you leave Studio before the result is ready, return to your generation history in Studio’s Generations tab or through My Assets → Generations. Look for the job you already submitted before creating another one. Check the prompt and creation time to distinguish it from earlier attempts.
Keep the original downloaded file. Make separate cropped or compressed copies for publishing, and save the prompt and settings with the project so you can return to the same idea later.
If an upload or generation does not work
- The upload is rejected: read the message and check the accepted format and file limits. Real-person support does not mean every file or request is accepted.
- The photo becomes the opening scene: check whether you selected image-to-video. For a new setting built around the person, use reference-to-video and describe that setting explicitly.
- The job is still pending: follow the existing generation. Closing a browser tab or losing your connection does not establish that the job failed.
- The person changes during the clip: try a clearer input and a simpler action. Identity consistency should be checked in the finished video, not assumed from the model name.
- You cannot find the result: check your current account and workspace, then review your generation history and any active filters.
Start with one person and one new scene. Once the result works, make the next shot as a separate generation using the same person.